Hi to all fellow crafters'

I have only recently started to blog more seriously than I did previously, hope you like what you see. :) If you would like more information on a particular project please ask and I will see what I can do. I have now started doing challenges, I will hopefully be doing one every month. To go direct to my challenges please click on the link from the right. Hope you can join in I would love to see your creations. x


PLEASE NOTE that new challenges, winners and previous winners can now be found at the top of the page.

Followers

Wednesday 16 April 2014

Wedding invitations

I am sorry not posted in a while, I have been busy with one thing and another and the time just flies by. Here is some wedding invitations and guestbook which kept be busy for a while.

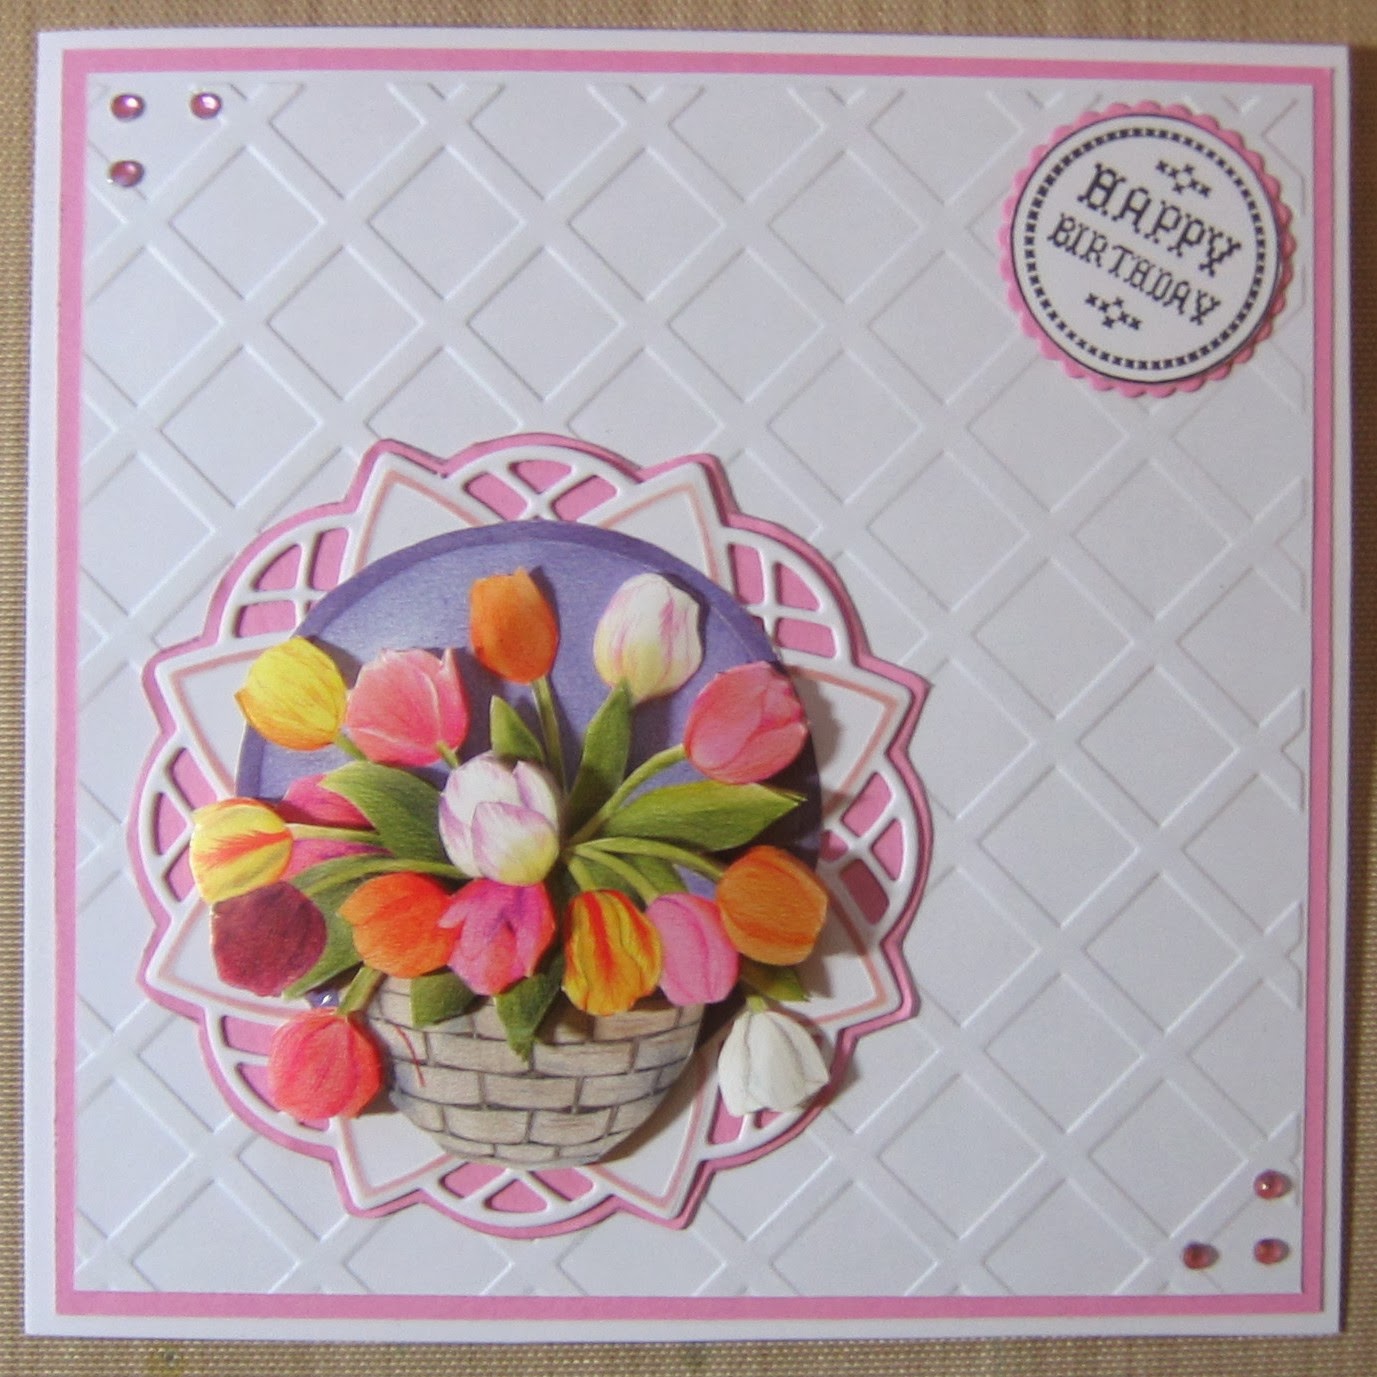
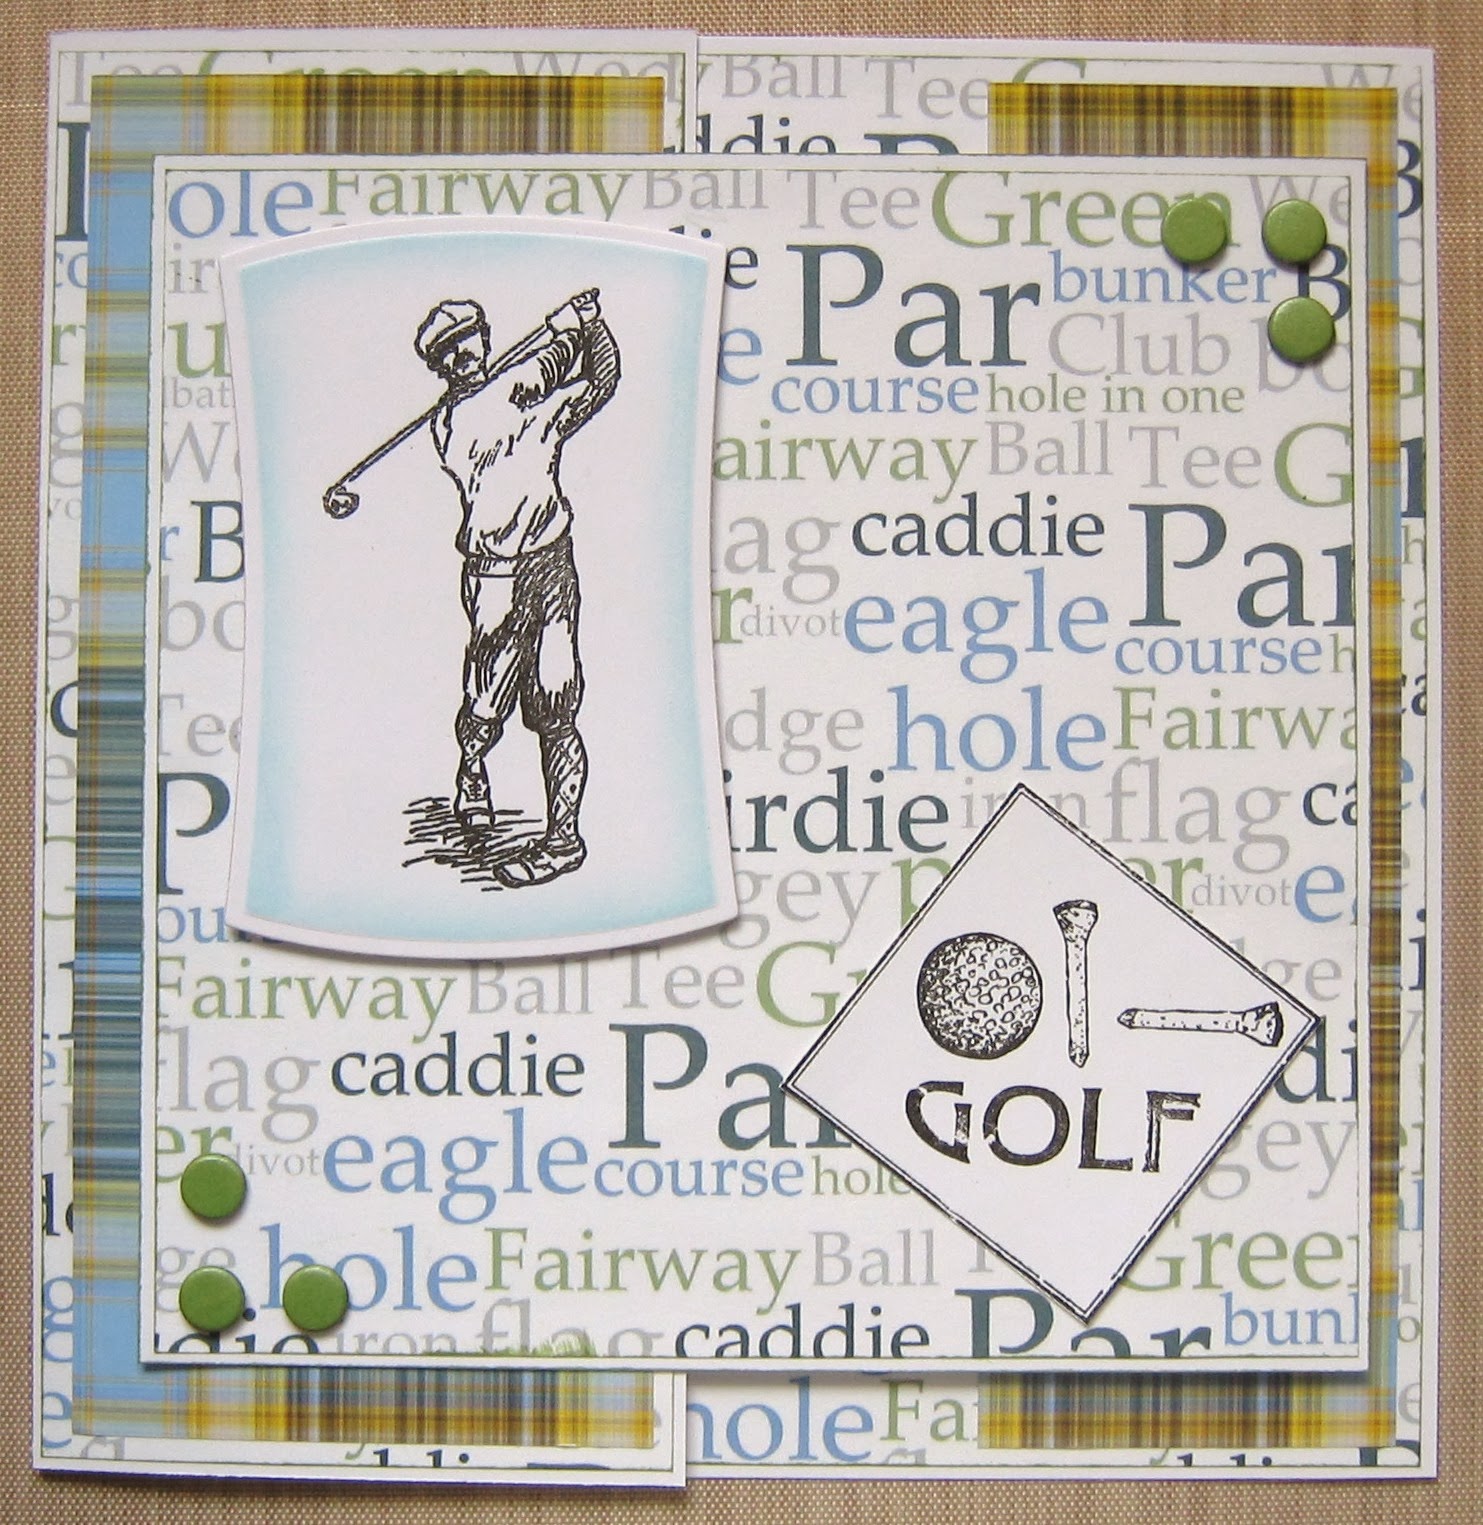
The invites are 6x6 card blanks, the top layer is embossed part way and stamped and embossed words. I added a ribbon and dimante buckle to finish. The box is made to fit the invites 2 side by side, I used the same embossing folder and ribbon to decorate.

Please click on images for larger view


 For the guestbook I first printed my inserts and trimmed slightly, I then made my cover and scored one edge to fit just a little larger than the inserts. The layer is done the same as the invites, I made a personalised topper for the front and the spine was made to hide the edge of the pages. Ribbon was added to finish off. The guestbook box was made to fit and decorated to match.


Thank you for taking the time to view my blog, all comments are appreciated x

Wednesday 5 March 2014

You're A Classic

My post today is a card I made during a stamping session. I started with a 6x6 card and layered blue card leaving a small border. I cut 2 smaller pieces of blue card to create borders, and layered a spotty paper onto these after inking the edges. I inked the edges of the gingham paper and placed onto my first layer, then put on the 2 borders. I stamped onto water colour card with the car image using Tim Holtz weathered wood distress ink adn used a water brush to bring in the colour. I did the sentiment in the same way and layered my image and sentiment onto blue card, then I added card candi to finish.


Thank you for taking the time to view my blog, all comments are appreciated x

Tuesday 4 March 2014

Embossing

Today is embossing day, my cards are made using a glitter girls embossing board 3 small frame embossing folders.
The butterfly card is simply made using the emboss to impress board by the glitter girls. After embossing and cutting the outline of the card I also embossed and cut the next layer and fan petals from some decorative papers. The fan petals were placed onto silver mirri card, this was then all layered and border peeloffs and butterflies were added. Flowers, gems and sentiment were placed onto my card to finish.


My next set of cards were all made in the same way using a6 cards. I chose 3 frame embossing folders and embossed onto white card. I matt these layers onto 3 different colours of card and trimmed to fit my cards. I then chose 3 colours of ink to match my coloured card and stamped my images onto my embossed designs. I then used ribbon, dies and gems in chosen colours to finish decorating them.


Thank you for taking the time to view my blog, all comments are appreciated. x

Monday 3 March 2014

Love

My friend Kathy and myself craft most days while chatting on skype. I was getting a little bit fed up of sitting in my craft room and not doing any crafting, I could never make my mind up as to what I wanted to make. I set myelf up with a daily craft planner with a different theme each day, this was because I also have lots of crafty stash I have bought and not used. My themes are:

Monday cricut/robo
Tuesday embossing folders/ embossing boards
Wednesday stamping
Thursday card kits
Friday decoupage
Saturday masks/stencils
Sunday cd roms/scrapbooking

Now I have something to craft each day and use different crafting items along the way. I am hoping that when I post I will show you what I have been up to with the theme for that day.
As today is Monday I am posting the card I made using my cricut a couple of weeks ago


This is a 6x6 card to which I added a black mat leaving a small border. My next layer I embossed with a creative expression folder and trimmed to fit onto my card. I made a small border from black card and placed down the side of my card. My image, small hearts and sentiment were cut using the cricut and cartridge Love,struck. I finished by adding border peeloffs hearts and gems. I gave this card to my husband on valentines day, he loved it.

Thank you for taking the time to view my blog, all comments are appreciated. x

Monday 24 February 2014

Decoupage cards

My post for today is of cards I have been making the last few weeks using decoupage images. The first two images are of c6 cards simply using a Tonic die to cut into the card to create a decorative space for my images and placing coloured card behind. Once the images were placed I simply used peeloff borders, corners and sentiment to finish.


My next two images are using 6x6 base cards with matts to compliment the colours in the flowers. They both have an embossed layer with a die cut shape to fit the decoupage image. Before placing my image onto the die shape I inked through the die to show of the detail. I added ribbon, gems and sentiments to finish. All four cards are very simple, quick and easy to make. I really enjoyed making these.


Thank you for taking the time to view my blog, all comments are much appreciated x

Saturday 22 February 2014

Baby


My DT card for this weeks challenge over on MTTC the theme this week is "new baby/job/house" I chose new baby.
My card is very simple, I used a Glitter Girls embossing board to get my card shape, after printing two contrasting papers and embossing them I placed them onto my card. I added peeloffs and a sentiment to finish.


Thank you for taking the time to view my blog, all comments are appreciated x

Friday 21 February 2014

In the kitchen

My post today  is my DT project for Stamping Dragons Designs challenge. The theme for the SDD challenge is In the Kitchen. It would be great if you could pop over and join in the fun.


 The prize is 


My base card is 6X6 , using the  Fruitful papers  and image  Penny goes shopping   from
Stamping dragons   I started with a layer of gold mirror card to which I added my first paper leaving a small border. I then used a smaller pice of another paper and layered it onto mirror card, when putting it onto my card I offset it. After printing and colouring my image I placed it onto my card with silicone glue, then added a sentiment to finish.


Stamping Dragon design Links:
STORE: Stamping Dragon Design: http://dragonslairdesigns.com/shop/
Challenge blog: Stamping with the Dragon: http://stampingwithdragon.blogspot.ie/
Facebook group:  https://www.facebook.com/groups/427447597324391/
Sister blog: The Dragons Den: http://stampingdragondesigns.blogspot.ie/  
Other links you may be interested in
Thank you for taking the time to view my blog, all comments are appreciated x

Saturday 15 February 2014

MTTC challenge 15/2

It's time for a new challenge over on MTTC The theme is "sympathy" Here is my DT sample, hope you will be able to join in.
I started off with some papers printed ready to cut from a CD (sorry not sure which) my base card was made to fit underneath the largest layer and scored to make an easle card. After putting peeloffs around all the edges of the layers I placed them onto my base card using silicone glue to raise the layers a little. I used a contrast paper for the base part of the card and also for my stopper. I then cut out the cross from a die and used ribbon and flowers to finish off.


Thank you for taking the time to view my blog, all comments are appreciated x

Saturday 8 February 2014

Get well

Buttons and ribbon is the theme for MTTC challenge this week, I hope you can join in.
My card is 6x6 with the corners cut off, I used a paper from a cd to create my first layer. My topper is also from a cd,after cutting out I layered it onto a die shape and inked the edges. I used a different paper and puch to make my border and matt onto mirror card. I placed ribbon around before placing it onto my card. I matt my topper onto mirror card and added to my card along with a sentiment and buttons to finish.


Thank you for taking teh time to view my blog, all comments are much appreciated.x

Friday 7 February 2014

Love is in the air

My post today  is my DT project for Stamping Dragons Designs challenge. The theme for the SDD challenge is Love is in the air. It would be great if you could pop over and join in the fun.

 The prize is 


My base card is A5 and I chose to try out this layout for the first time, using papers Dreamy peach and Swirly triple hearts image from Stamping dragons store I first placed a mirror card layer leaving a small border onto my base card. I then cut a pice of blue card slightly smaller than the mirror card and used a border punch at the bottom. I then cut pieces of one design paper into strips, cutting at an angle to create the effect I wanted. Once I was happy with these I then placed them onto the blue card trimming off any excess. I created a small border using a second paper from the collection and added peeloffs. To finish I printed out my design and used a die to cut it out, I inked the edges before removing from the die adding gems to my topper before placing onto my card.


Stamping Dragon design Links:

STORE: Stamping Dragon Design: http://dragonslairdesigns.com/shop/
Challenge blog: Stamping with the Dragon: http://stampingwithdragon.blogspot.ie/
Facebook group:  https://www.facebook.com/groups/427447597324391/
Sister blog: The Dragons Den: http://stampingdragondesigns.blogspot.ie/  

Other links you may be interested in
Thank you for taking the time to view my blog, all comments are appreciated x

Sunday 2 February 2014

Sympathy

Todays post is my card sample for 'feeling crafty challenge' This is a fab challenge with a great prize. The theme is Die cuts and/or punches.
I started with a large die to make my card shape, my first layer is a smaller die from the same set which I embossed. My second layer is a die which I also embossed slightly, I then put peel offs around all the edges of my layers. The cross topper is a die which I layered onto black card to help it show better, a smaller cross was layered on top. I cut butterflies and swirls to embellish and added a sentiment.


Thank you for taking teh time to view my blog, all comments are much appreciated x

Saturday 25 January 2014

Golf

The card I am posting today was made for my husband's birthday and fits the theme for the new challenge over on MTTC perfectly, "2 images one card"

I started with an 8x8 base card and cut away part of the front. After inking edges and trimming to fit I layed a golf backing paper on the inside and on the front leaving a small border. I then chose a contrasting paper and layered this onto the front and part of the inside. I inked and layered the same backing paper used for the inside onto a piece of card trimmed to fit my toppers. I stamped my two images and inked the edge of the golfer before removing from the wonky rectangle die used. My toppers were placed onto the square matt and added to the card, I then finished with some card candi.


Thank you for taking the time to view my blog, all comments are appreciated. x

Saturday 4 January 2014

Love of music

My post today I made for my daughter's 16th birthday, Holly loves music and blue is her favourite colour. I thought it would be great for this week's challenge over at MTTC as the theme is music or movie influence.
My card is a teal 8x8 card, my first layer is white card which I used a music embossing folder. I then used the same teal card to cut two borders and matt them on to black card. I cut a star and layered it onto silver mirror card before putting it onto my card. I cut smaller stars for embellishments along with musical note symbols. I then stampsed out the words happy birthday and cut out Holly's name and the number 16 before adding these to the card, I finished off adding a few gems.


Thank you for taking the time to view my blog, all comments are much appreciated x